With Xshell, you can easily generate a public key and register it to a server. In another article, we went over how to generate a public/private key pair. From the User Key manager, access the key properties and navigate to the Public Key tab.

Copy the entire public key to your clipboard and we will register it to our server.
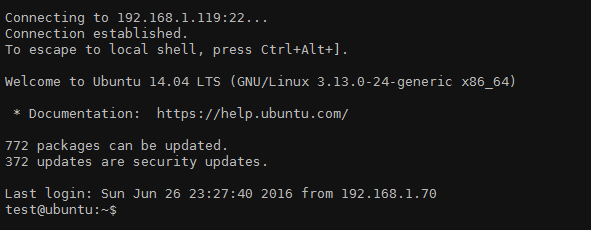
First, we’ll need to ssh to the server using password authentication. From there, we’ll need to edit the sshd_config file. (Default location is “/etc/ssh/sshd_config”)
Confirm the current file name of the AuthorizedKeysFile and create a file in its location to register your public key. We’ll proceed using the default file name of ~/.ssh/authorized_keys.

Edit the ~/.ssh/authorized_keys file and we’ll paste the public key we copied above. (If the file doesn’t exist in the directory, create it).

Now in Xshell, go to your session’s properties and set Authentication as Public Key. Select your user key and enter the credentials.

Now everything has been set and you can connect via the session file!

 한국어
한국어